Survive The Night TD PC & Mobile Controls
Claim houses, place towers, repair doors, redeem RDM codes, and manage loadouts.
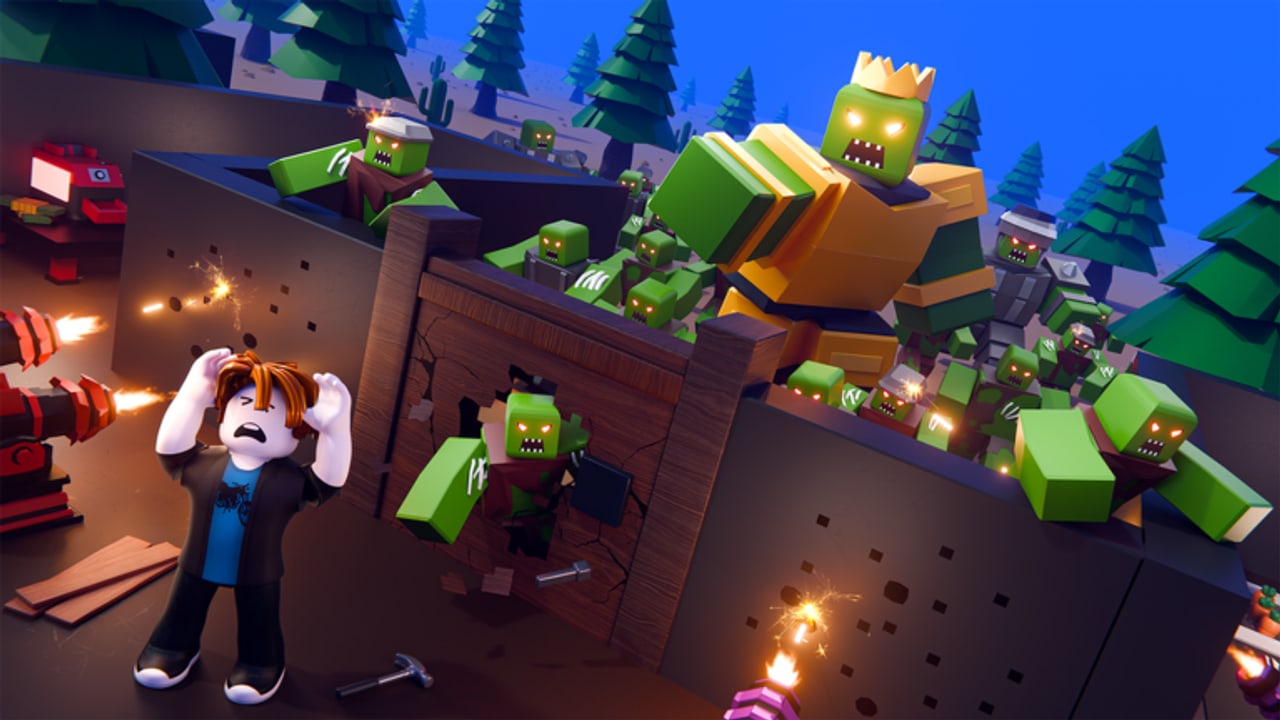
Survive The Night TD plays like a Roblox tower defense with a house at the center: you claim, place, upgrade, and repair while monsters test door HP. This controls guide covers the practical PC and mobile habits that keep nights alive — from the lobby loadout screen to the mid-match repair panic. Pair it with Getting Started for first-session goals and Door Defense for why every click should protect the door.
This is Duni&Minion’s TD experience (place 114125816375987), not the older Aurek Team Survive the Night slasher.
Lobby vs match: two control contexts
Lobby is where you redeem codes, hatch pets with Gems, buy lobby upgrades with kept Coins, and lock loadout slots (four free; optional 5th Slot). Match is where you claim a house, place towers for Coins, upgrade color tiers, level the door, and repair when HP dips. Mixing those contexts — for example hunting Gem hatches while your door is chunked — is how beginners lose Easy.
Claim a house
When the match allows claiming:
- Move to an available house with a readable monster path.
- Use the on-screen claim / interact prompt (tap on mobile; click / interact key on PC — Roblox defaults apply).
- Confirm you own the door you intend to defend before dumping your first Crossbow in a random yard.
A bad claim with a confusing lane is harder to micro than a clean approach. On Hard and later modes with multiple doors, claim awareness matters even more — see Hard Mode and Nightmare Mode.
Place and upgrade towers
- Open the tower / build UI from your loadout bar.
- Select a tower (starter Crossbow, then Farm / Money Printer / Medical Base / Cannon / Mortar / etc. as unlocked via Lorenzo crates).
- Place on the path monsters walk toward the door — not decorative corners.
- Spend Coins on color tiers (red → blue → pink → diamond style) during the run; these reset each match.
- Keep Medical Base and income online before vanity diamonds. Full spend order: Tower Upgrades.
On mobile, place carefully — fat-finger mis-taps waste Coins you needed for repairs. On PC, a short camera orbit before confirming placement saves more doors than any hotkey myth.
Repair the door
Door HP is the only fail condition. When it dips:
- Find the repair / door upgrade controls in the match UI (on-screen buttons are the reliable path across devices).
- Spend Coins to repair or level the door before buying a flex tower you do not need.
- On two-door Hard (and multi-door Nightmare), rotate which entrance you check — tunnel vision is a control failure, not just a strategy failure.
Medical Base heals over time; manual repairs answer spikes. Practice both until the UI feels automatic.
Camera and awareness
- PC: drag / right-mouse style camera (Roblox standard) to sweep lanes; zoom out enough to see door HP and pathing.
- Mobile: pinch-zoom and drag; avoid locking the camera on one pretty Tesla while another door dies.
- Bind mental checkpoints: income → each door → heal tower → Coin bank.
VIP’s 2x speed (see Gamepasses) makes micro faster but does not move the camera for you.
RDM codes button (top-left)
After the tutorial, the RDM button sits top-left in lobby/match UI. Tap it, enter codes, confirm. Full walkthrough: How to Redeem Codes. Live list: Codes Hub. Redeem before a serious Easy, Hard, or Nightmare push so Coin buffers exist when repairs matter.
If RDM is missing, finish the tutorial first — beginners often think codes are broken when the intro flow still owns the HUD.
Loadout slots
- Equip towers in the lobby loadout screen before queueing.
- Default: four slots.
- Optional 5th Slot pass (99 Robux) adds one more tool — usually second income or AoE.
- VIP (399 Robux) adds interior space, 2x speed, and a tag — comfort for placement and repairs.
- Newer Skip Rolls (49 Robux) is a monetization convenience covered on the Gamepasses page; it does not replace learning claim/place/repair.
Never leave Medical Base or income out of the four free slots “because the fifth will fix it later.”
Practical device tips
PC: keep the mouse free for camera sweeps during boss waves; avoid fullscreen distractions when Hard opens a second door.
Mobile: play on stable Wi-Fi; enable a comfortable UI scale if Roblox settings allow; pause Gem menus until the door is safe.
Both: do not open unrelated Roblox menus mid-spike; a three-second tab-out on wave 14 Easy is how Golden King finishes soft doors.
Suggested first-hour control drill
- Tutorial → find RDM → redeem codes.
- Set loadout: income, Crossbow, Medical Base (if unlocked), AoE.
- Claim house → place Crossbow on path → place income.
- Practice one intentional repair before mid-game.
- After Easy Peasy!, repeat the drill on Hard with forced camera swaps between doors.
Deep strategy then lives on mode guides; this page is about never losing because you forgot where the button was.
Related pages
Getting Started · Door Defense · How to Redeem · Codes · Tower Upgrades · Tools Hub
Master Survive The Night TD controls once and every later guide becomes strategy instead of “where is repair.” Claim cleanly, place on the path, repair on time, and let RDM keep the Coin tank full.
Frequently Asked Questions
Quick answers about codes, towers, doors, pets, and modes.
Where is the codes button?
After the tutorial, use RDM in the top-left of the lobby or match UI. Full steps are on How to Redeem Codes.
How do I claim a house?
Move to an available house and use the on-screen claim/interact prompt. Confirm ownership before placing your first towers.
Are controls different on mobile?
Same loop — claim, place, upgrade, repair — with tap/drag camera. Take extra care on placement accuracy and door checks.
How many loadout slots do I get?
Four free slots. A 5th Slot pass costs 99 Robux. VIP and Skip Rolls are separate comfort purchases.
What should I practice first?
Find RDM, claim a clean house, place income plus Crossbow, and repair the door once on purpose before chasing fancy tiers.